 The Simon Duncan fashion show had me excited to try out my first ever tutorial for you guys. I have to give a huge round of applause for the ladies and gents that do this on a regular basis because it is a painstaking process – do you know how many pictures and editing goes into it?!
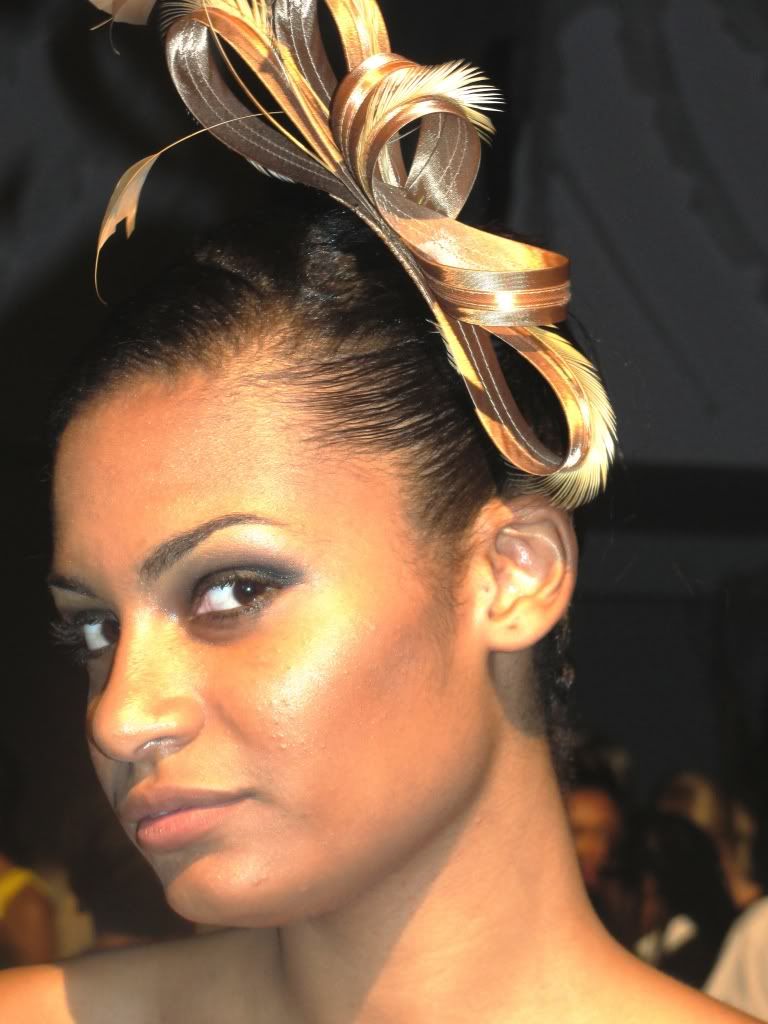
The look was a pretty natural face & a smokey, black eye with gold sparkle in it and very light bronze contour with a neutral lip. The first thing I thought of when I saw this look was my Stila 24k smudge pot. I dug around for some more Stila goodies and created a one brand look.
I’m already a fan of Stila as you may know, their shadows & gel liners are ultra longlasting and apply like silk. Plus – who hasn’t had a clickable lipgloss from them? I used them up like candy! Click after the jump to see the good stuff.
To achieve this look, you can use the products mentioned below, and pair them with your shade of foundation/concealer, and eye primer (I usually put some concealer on my lids to prime the eyes if I don’t have primer handy).

- Stila Eyeshadow duos in: Punaluu (buy at Amazon) and Salome (sold out on Stila & Sephora – google away!)
- Stila 24kt Smudge pot- golden noir (buy at Stila)
- Stila Pomegranate Crush lip and cheek stain (buy at Amazon)
- Stila Convertible mascara in black (check out my review here). (buy at Amazon).
Before you start reading the tutorial, there is homework: prep and prime on your own. Everyone has different habits and products, so feel free to use your own. Whatever makes your skin the most comfortable and matches the best is optimal!

- 1. With a wet brush, dip into the black shade of Punaluu and make a mark for what shape you want in the corner of your eye. I like to do this so that both eyes are even. Plus this doesn’t pull on your skin like using tape would.
- 2. Wet your brush a bit more and use more of the same shade from Punaluu to create a thick line.
- 3. Blend the line and your marker in the corner of your eye. I like to do this to create a soft background for the look. This helps you create a gradient look without trying too hard at all!
- 4. Using a liner brush, dip into some of your smudge pot and go over the area you lined in step 2. Do not extend too high as you will have to blend this out (think about how much of your eye you want to cover for this look & apply accordingly).


- 5. Add a second or third layer of the smudge pot. Since it is a gel, it might start to get really thin when you begin the blending process.
- 6. Blend until there is no more harsh line, or until you reach the effect you are looking for. This is where you need to see if you want the black to extend higher along your lid or not.
- 7. Use the darker bronze color from Salome where the smudge pot starts to fade out. This creates a warm bronze-y glow.


- 8. Use the lighter shade from Salome to apply (very lightly – this is just for a light shimmer) from your the center of your eyelid to the brow.
- 9. Blend the colors. I added a bit more of the shades from Salome both in the middle and at the top (you can spot some more shimmer on my lid in this step, can’t ya?).
- 10. Apply mascara to lower and upper lids. (Not pictured: Apply Pomegranate Lip and Cheek stain lightly on lips and either cover with clear gloss or leave as is).


You’re finished!


What y’all think about this tutorial? Do you want more? Let me know!
 tweetmeme_url = ''; http://tweetmeme.com/i/scripts/button.js

That is a great look on you! Great tut 🙂
LikeLike
What a beautiful tutorial! I love the pictures and steps you made. Great job, and I can't wait for other ones to come!!
LikeLike
Fabulous! You look great! And I totally know how hard they are to do!
LikeLike
Your skin looks amazing! And now I'm in the mood to do a flirty-smoky eye…but have nowhere to go. Ah well, at least I know how to do it when the time comes. Keep the tutorials coming!
~Tamia
StyleSampleMag.com
LikeLike
Smokey and lovely!!
P.S. Loviiiiing the earrings!
LikeLike
@Makeup Mama – thanks a bunch! I finally found a good smokey medium – the smudge pot is the way to go
@Mimi – glad you like it 🙂 I was wondering if I did ok or not lol!
@DWJ – so hard! It takes so much time and effort. Kudos to everyone who does it on a regular basis!
@Tamia – thank you mama!
@Rai – gracias. The earrings were only $3.99 at Easy Pickins! 🙂
LikeLike
Yes, more tutorials please! I love the look you've created. 🙂
LikeLike
Love love loooove how you winged that liner and then smudged it. Perfect!!
LikeLike