So I’ve finally gotten down to organization again as my shopping rises and my belongings multiply. After a trip to Pearl, Staples, and eBay, I think I’m ready to take on the task.

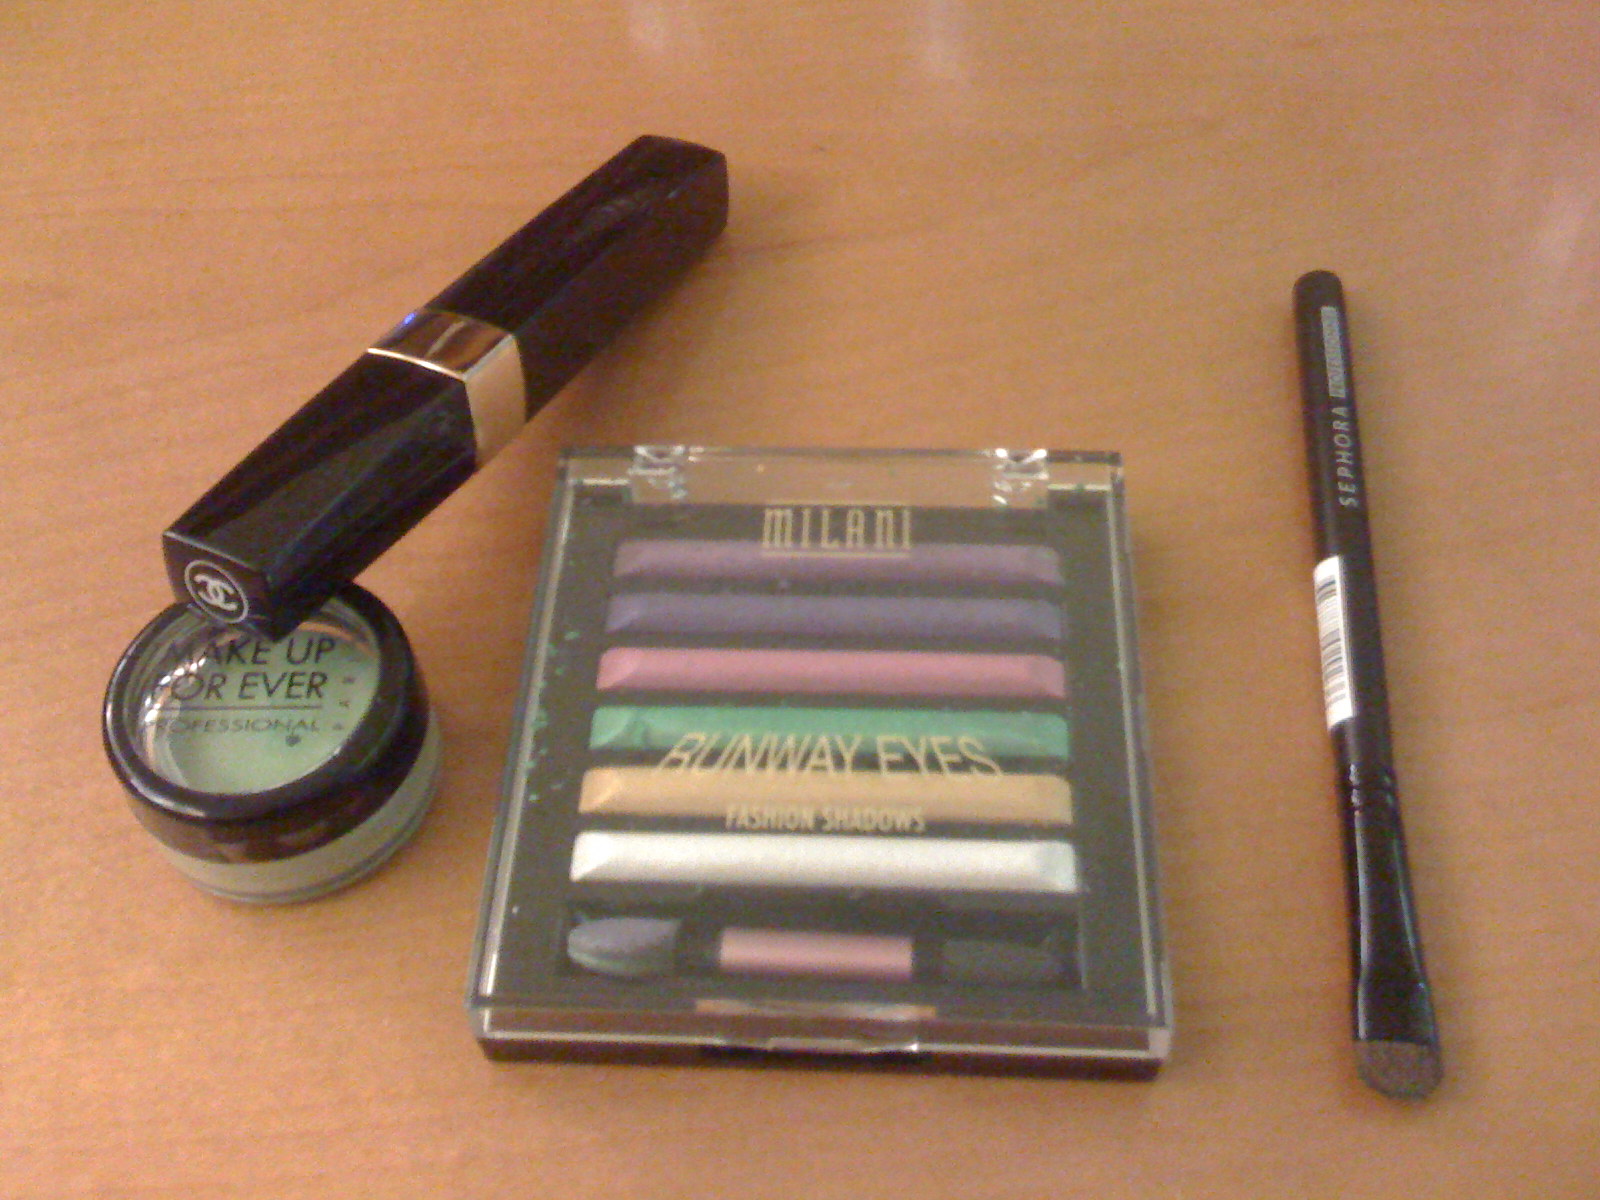
- from Pearl: pack of 12 storage cups (they’re for paint but they are also perfect for storing pigments, etc.), various sized containers (for powders/mixing)
- from Staples: labeling tape, magnetic tape (w/a dispenser how efficient!)
- from eBay: two 28 pan eyeshadow palettes (this is good for depotting and pressing pigments, plus this is the generic size that fits the Urban Decay, Milani, and MAC shadows and it’s cheaper than the MAC pro palettes $6 before s/h). This is the seller I got it from: jolieeeee
I should’ve gotten more palettes, because I got super excited and decided to make one palette strictly Milani and one strictly Urban Decay – it makes it much easier than storing each stinkin’ e/s pot by itself.
Of course, I went to YouTube for instructions. The Milani shadows are super easy to depot, they have a hole on the bottom that you can stick a tack into and it comes right out. The Urban Decay ones are the same as the MAC.
These are the two videos I used:
Milani
Urban Decay
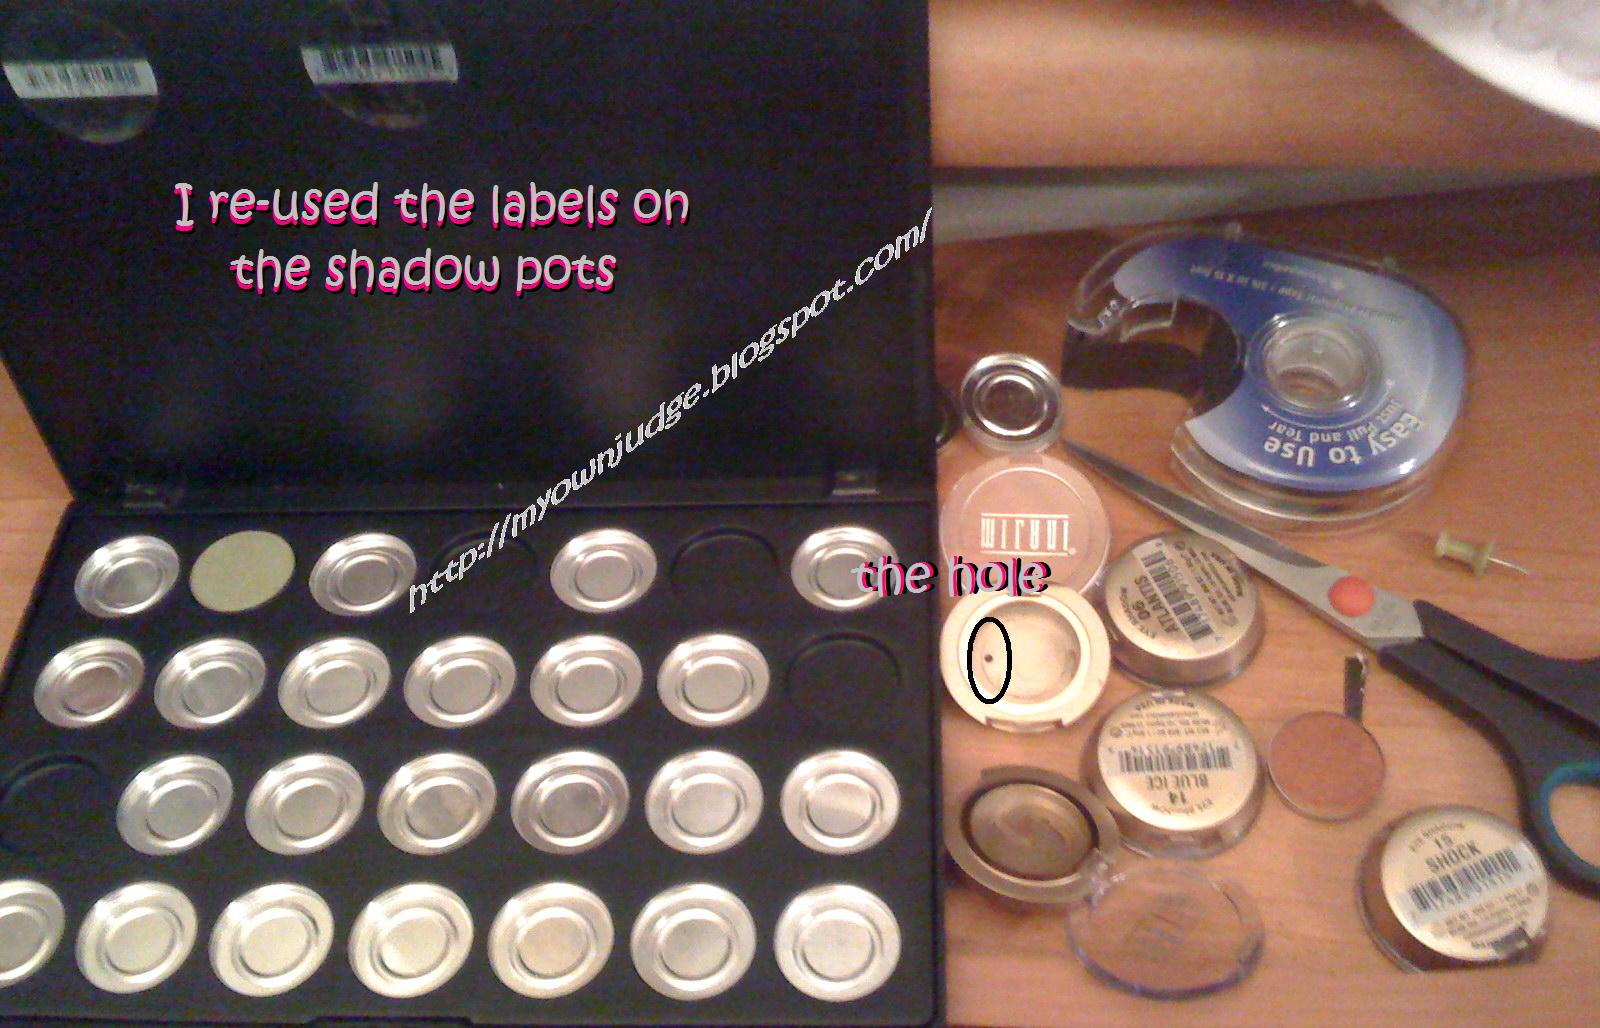
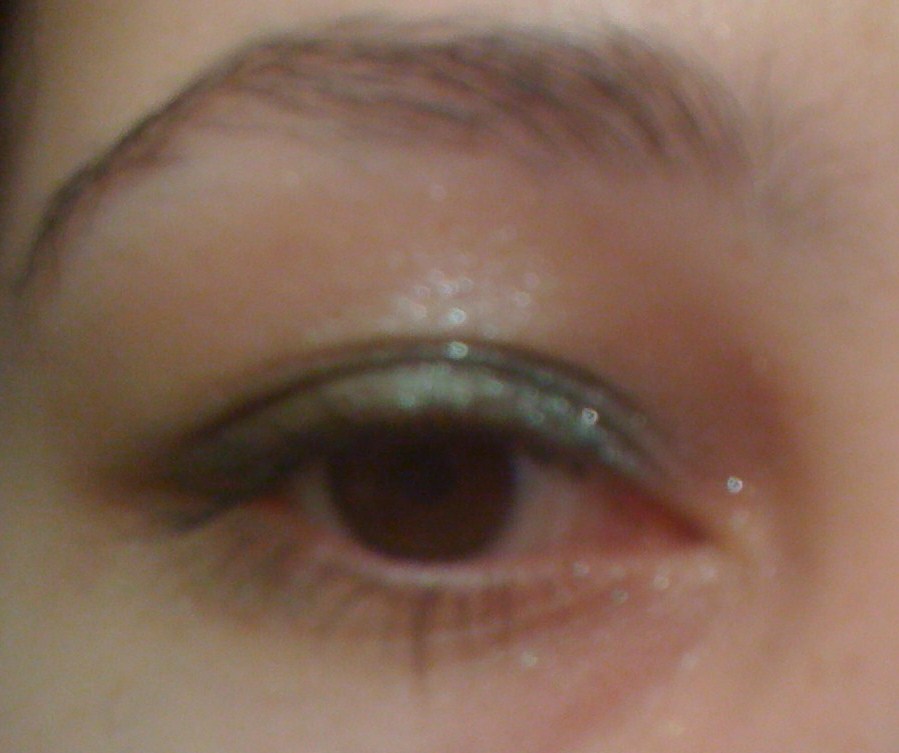
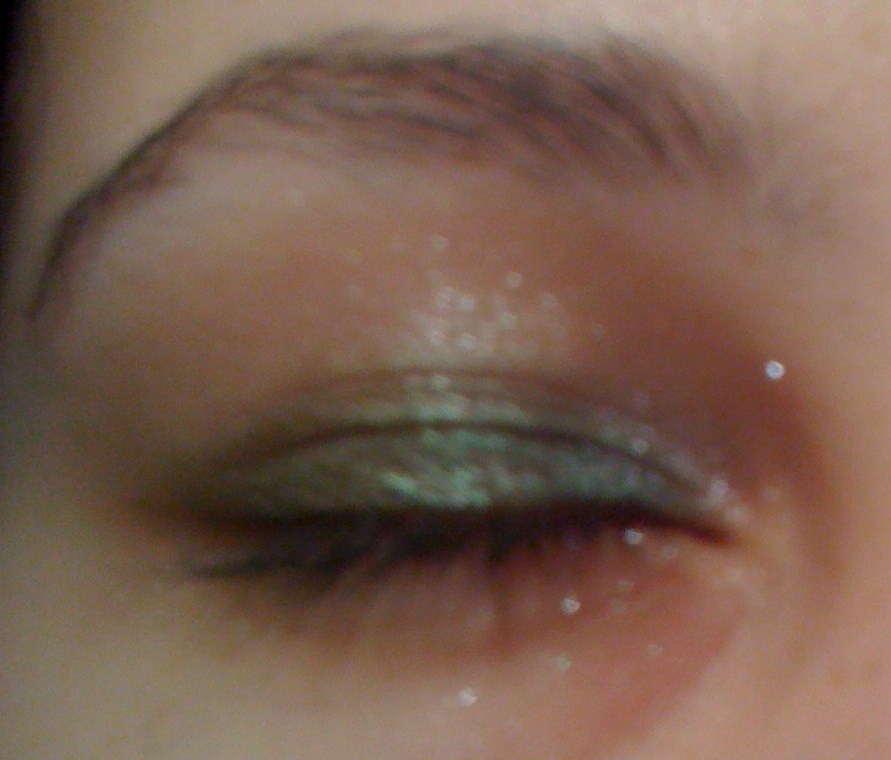
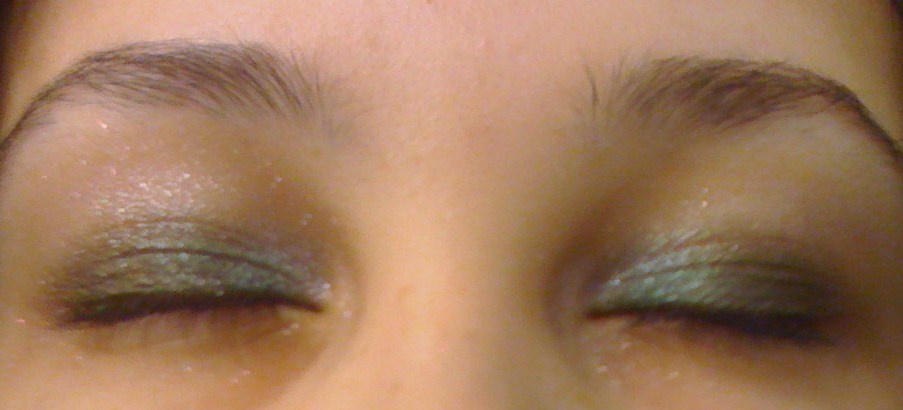
Here’s how I did (click on images for larger pictures):
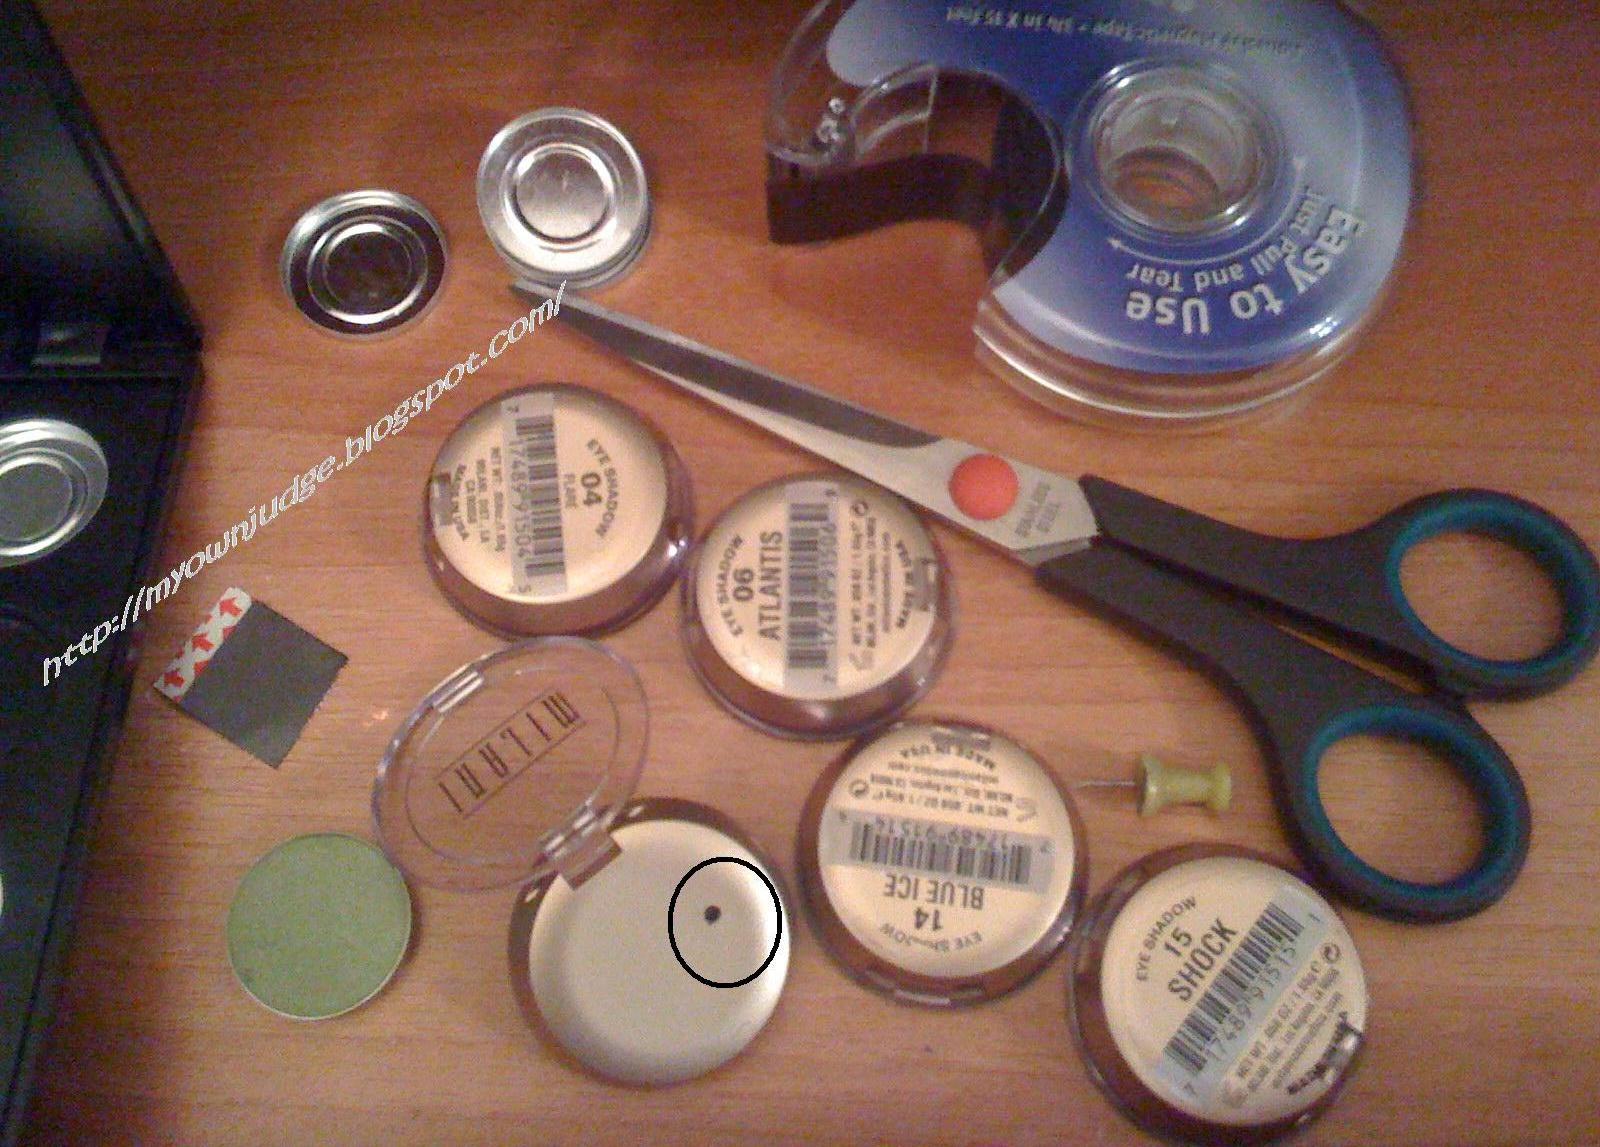
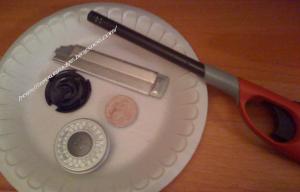
First I started with the Milani.


This was fairly easy to do. Only thing was that you had to push really hard with the thumb tack. I used Vanessa‘s advice (Nessassary Makeup) and reused the label stickers from the e/s packaging to put on the top flap of my palette so that I wouldn’t be confused about the colors or color names. So far I am organizing them by the shadow number that comes on the packaging. Once I fill up the whole palette, I might have to redo it by color. Stay tuned!
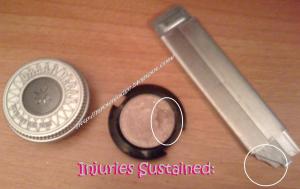

and then the Urban! Man I had so much trouble with this one. It snapped my box cutter, and I cracked my shadow twice – thankfully only at the top though so it can still be used.
This is basically the same as depotting the MAC e/s pans and the directions are the same as well. I didn’t have much luck finding too many other videos on Urban Decay e/s. The video that I saw tells you to use snippers to cut away at the pot once you separate it from the packaging, whereas most other ones tell you to use a flame – after I tried to snip away, I used a flame and realized I like that much much better.
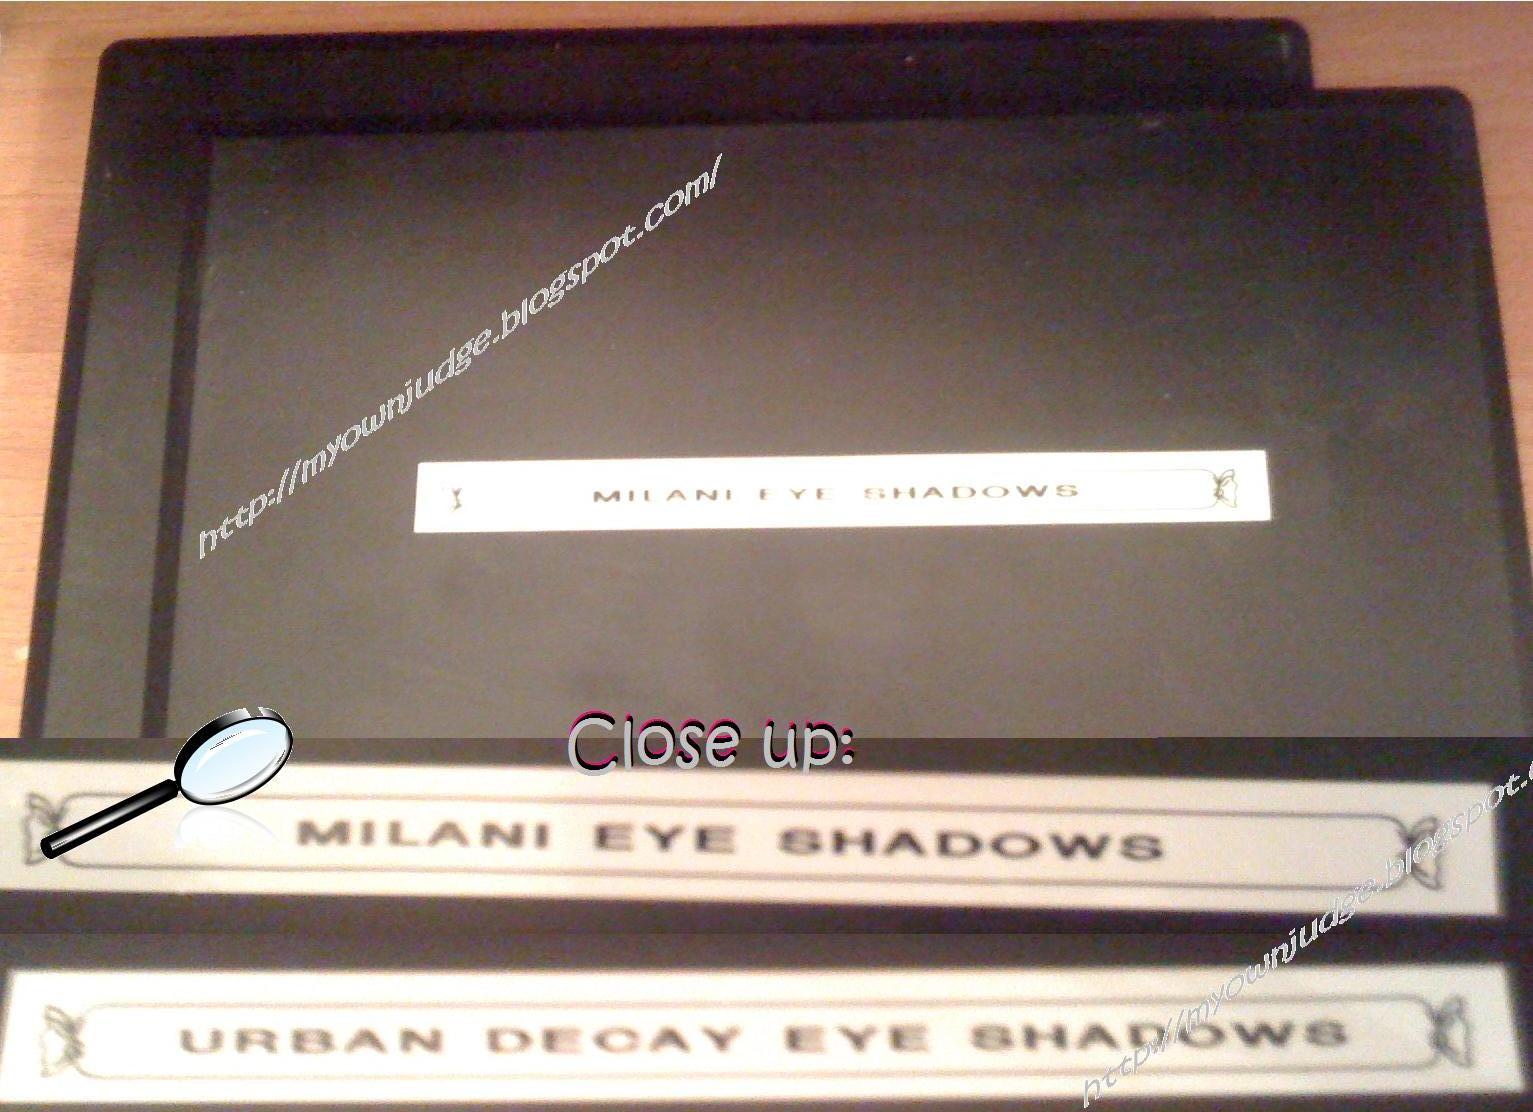
And this is the end result:

I went a little crazy with the labeling – my labeler had a candy wrapper option!
I decided to keep these two palettes as brand specific, and will probably buy another palette to load in the rest of my shadow stragglers.
And you? Have you done any depotting/organizing recently? How did it go?
Check out the poll at the side – I want to know what ya guys think I should do about my hauls. I’ve been on a shopping frenzy this month and the Swag Attack end of month entry might be a million pages long.
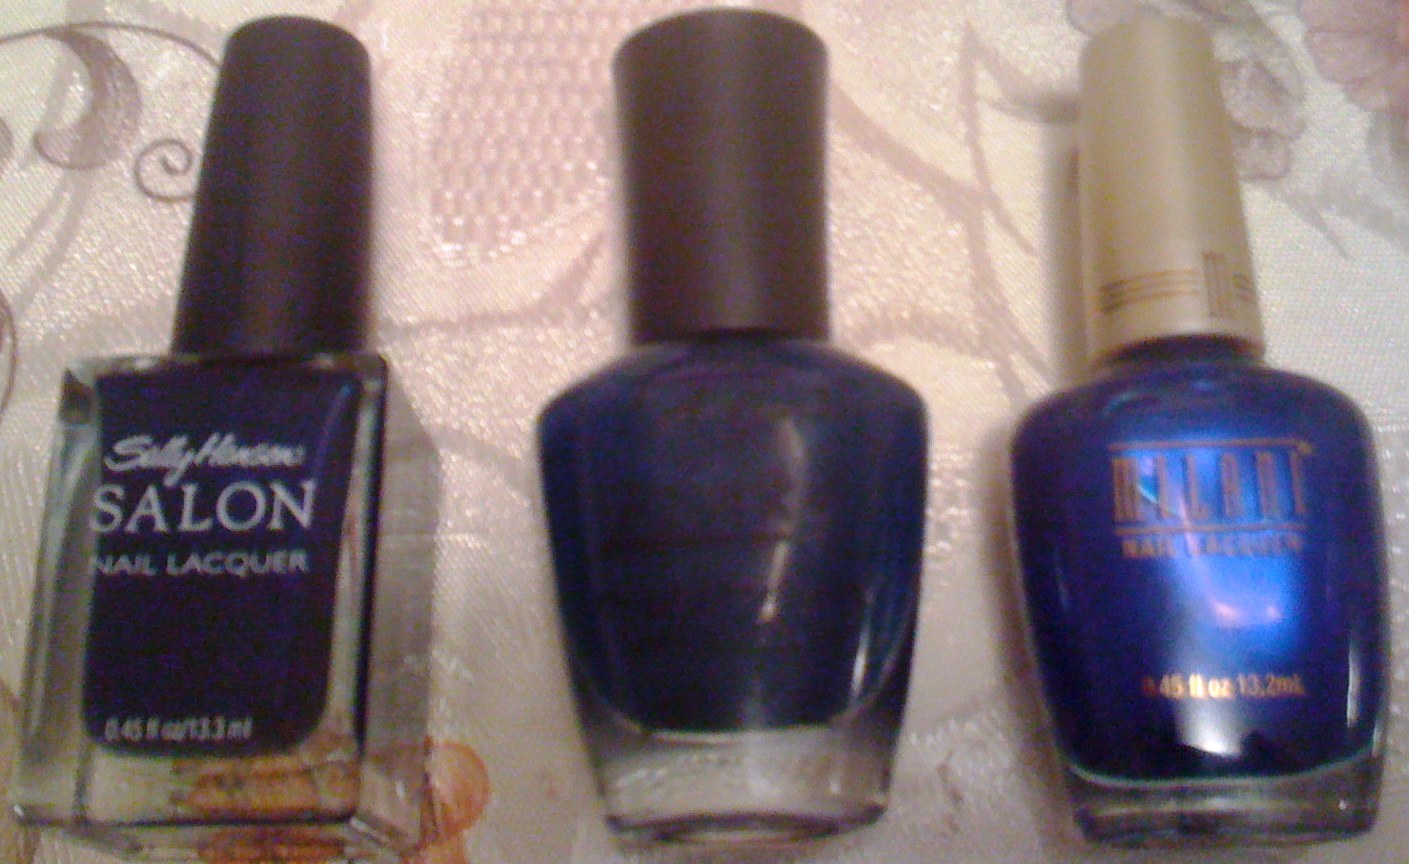
 Following a self imposed no buy diet for the first half of the new year, was the discovery of a
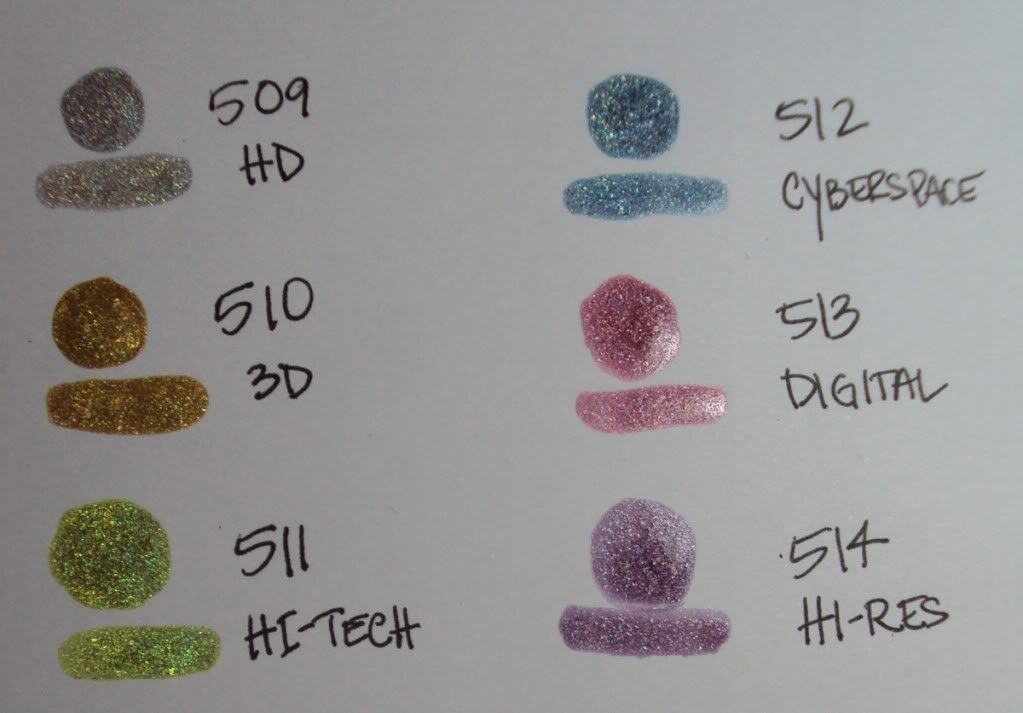
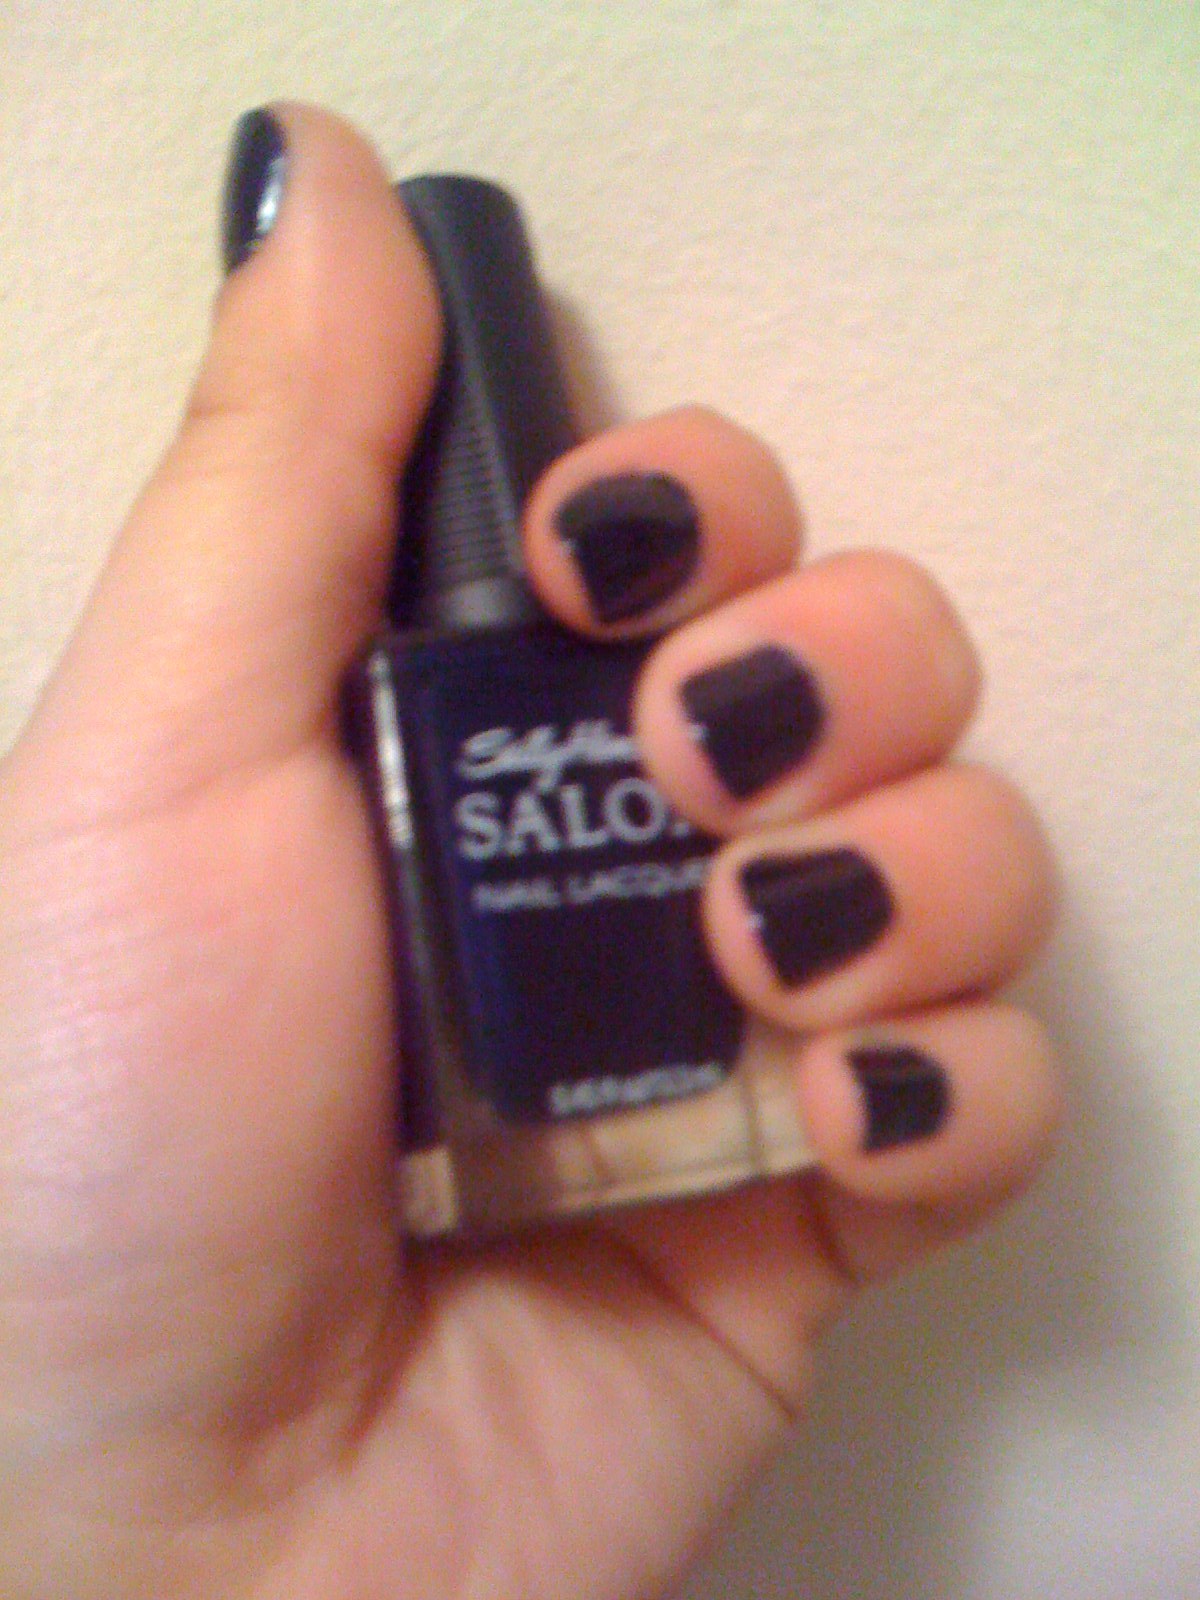
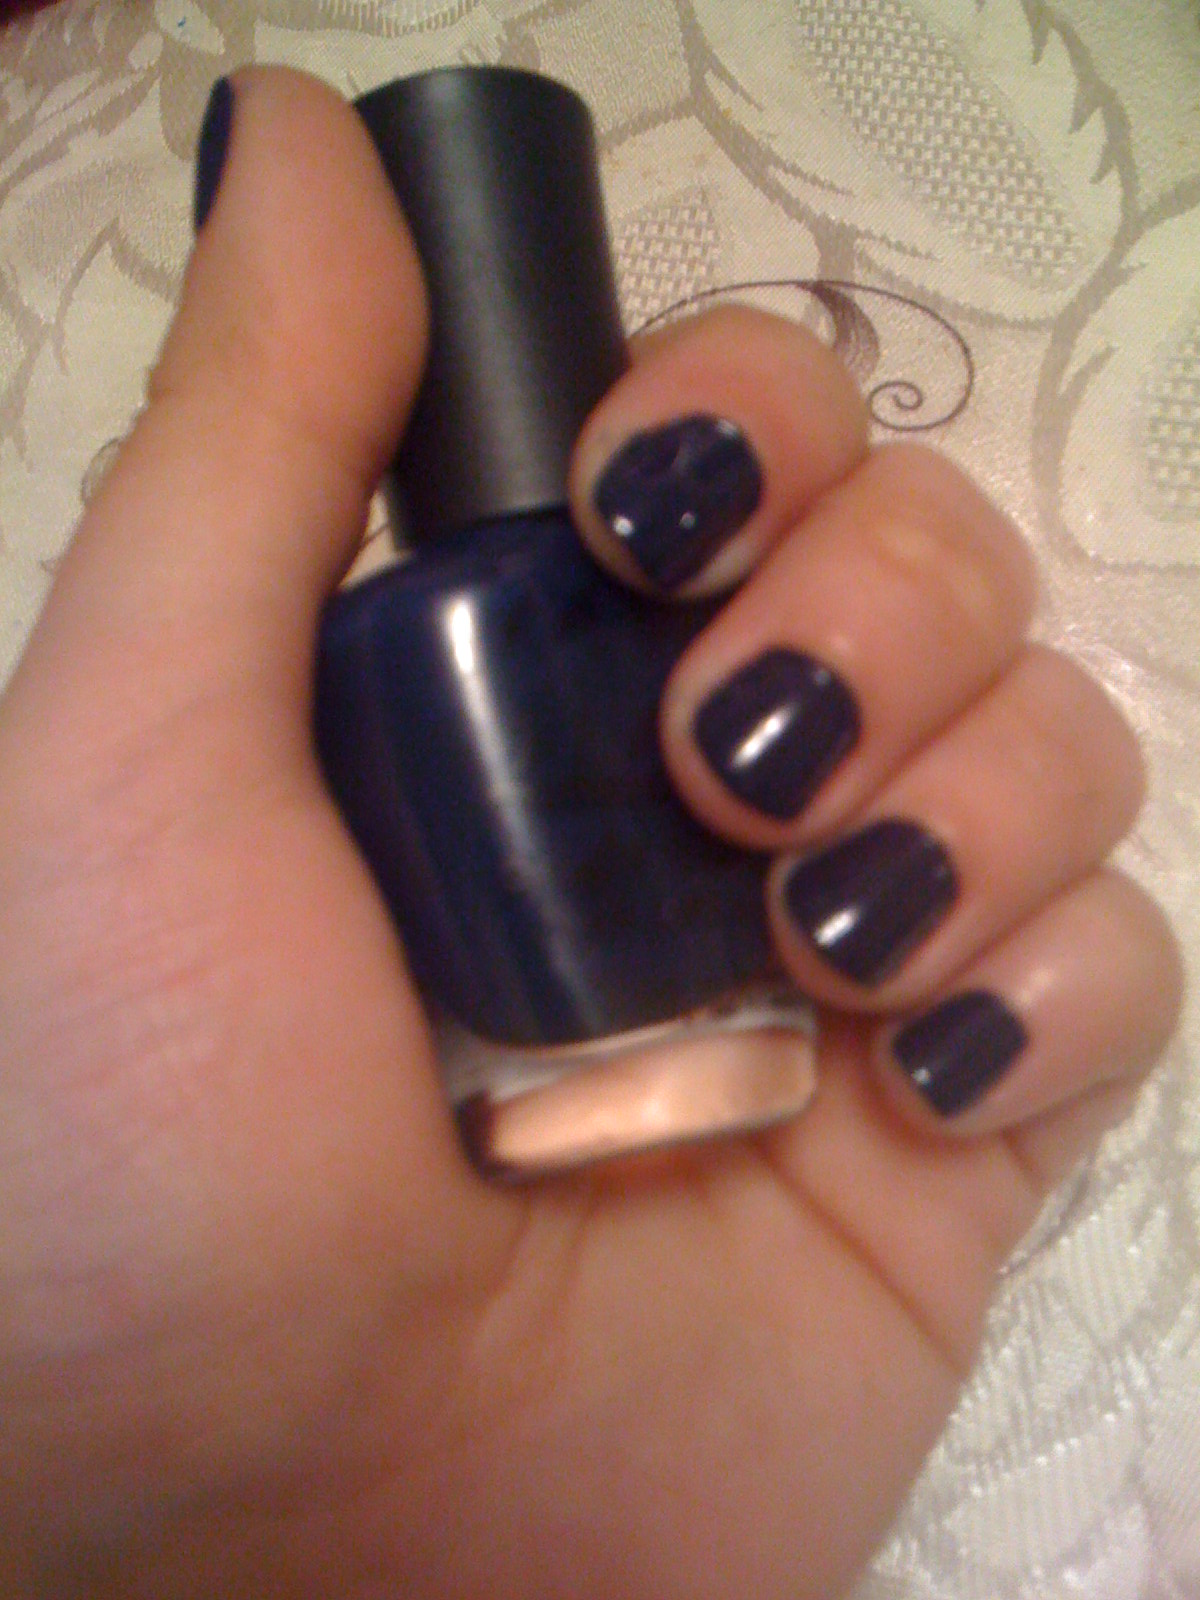
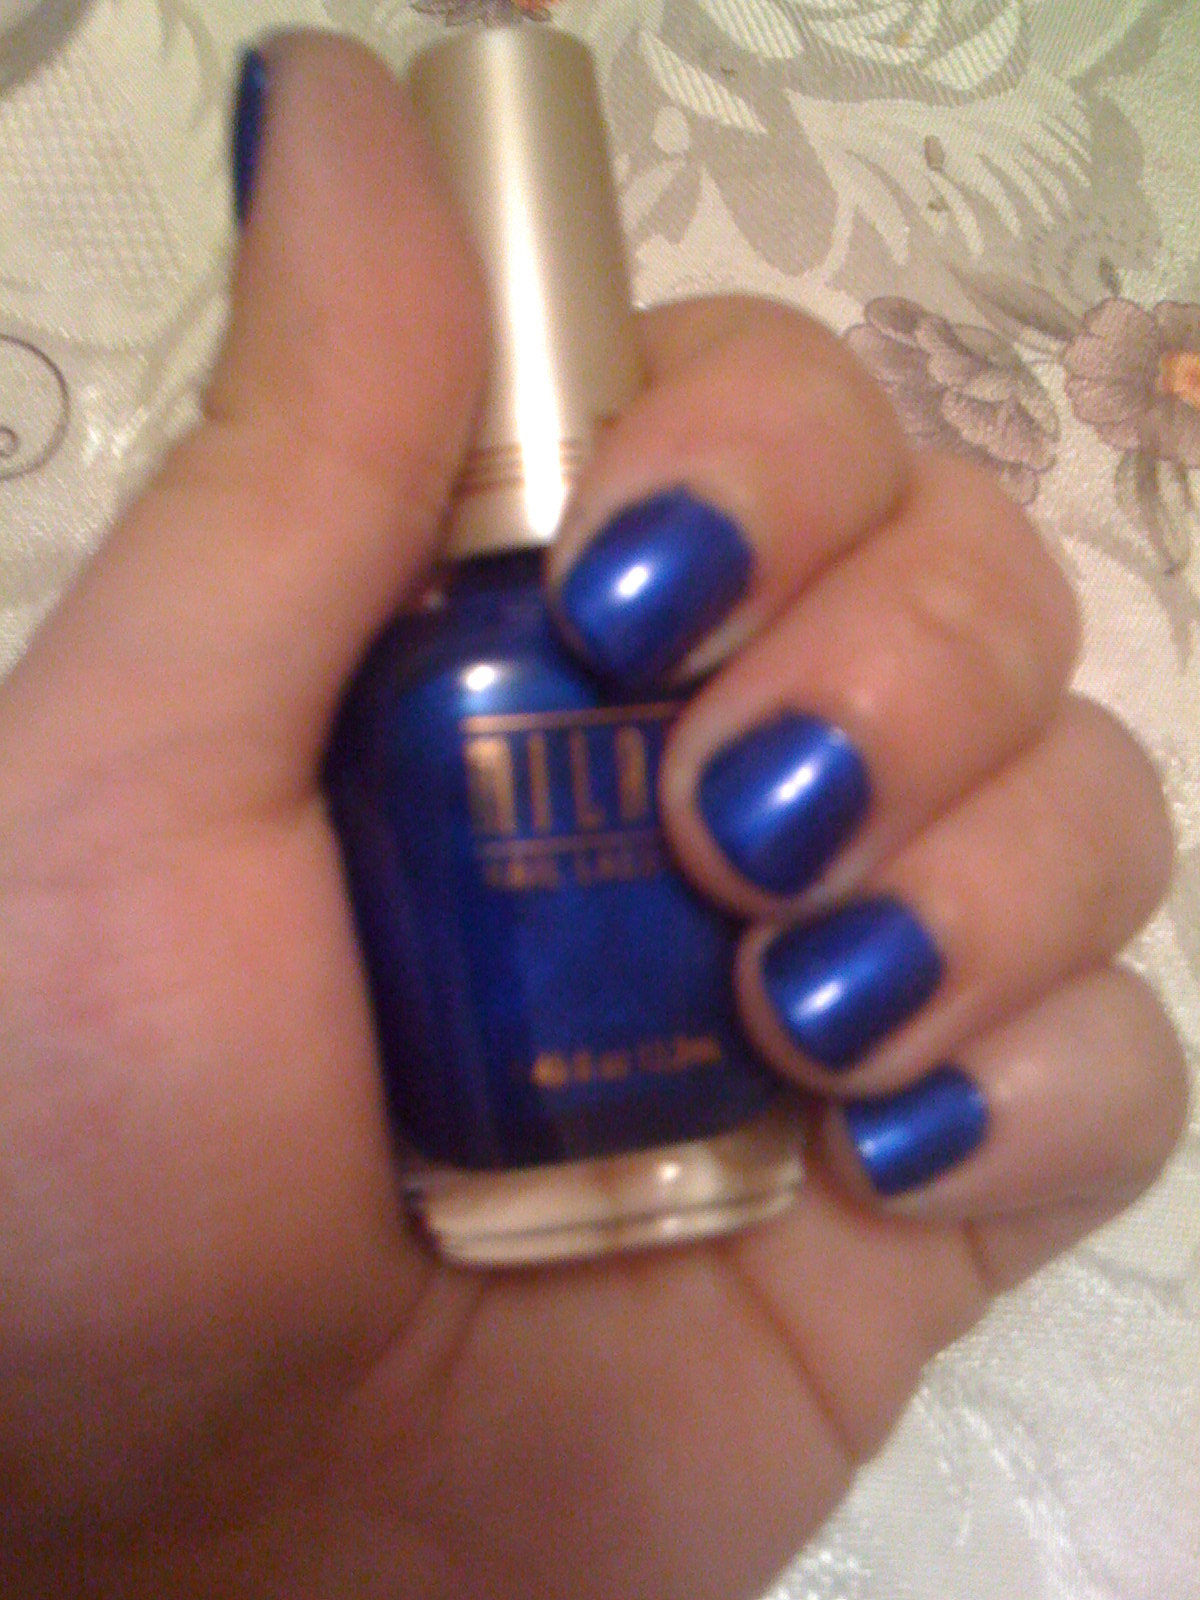
 I used two coats to create an even layer on my nails and was blown away. The glitters are the best glitters I have seen so far, and are a great balance of grainy, glitter, and pigment saturation. The polish is also not watery and wishy washy like a lot of glitters can get – there is no such thing as one coat and it’s still see through with these bad boys. The only exception is the rainbow confetti polish – but that’s not really a color if you think about it. The colors are so saturated that even applying a top coat is pointless after five seconds – the polish swallows up the shine.
 Pretty!
 I tried to do some shots to show the different looks of the confetti polish, with one coat on the left and a progression of sorts towards the right. Also fun to see the shapes and colors mix in, but unfortunately, I’d have to say this was the least favorite of the three.